Sunday 11 November 2012

Westone Parts, Part 1

The first two packages of parts for the Westone arrived on Wednesday and Thursday - the main item being the neck pickup, a Seymour Duncan '59. I've gone for the "reverse zebra" version, in which the black and cream bobbins are switched from the "standard" zebra configuration, so the black bobbins are on the outside of the pickups as they sit in the guitar. Click here for a pictorial example from the Seymour Duncan website (although I don't know why they have it upside down).


The drawback of the reverse zebra is that they seem to be rarer, and I've got to wait about 4 weeks for the bridge pickup I've ordered to come into stock from the US!

Also delivered this week were a few of the bits and bobs that are needed - the tone pot, pickup switch, nut, knobs, capacitors and some extra wire.


So that leaves just the bridge pickup and the pickup mounting rings, and I'll have everything I need.

Tuesday 6 November 2012

Project #3 - Westone Thunder I-A

Well, so project #1 is still progressing, albeit slowly, and project #2 is still in its box, but project #3 is now about to take off! Maybe I should take one thing at a time, but this one requires rather less work than the first two and it should be fun.

I've been keeping an eye on Ebay for a while in case any interesting potential projects come up, and in amongst a lot of rubbish and over-priced stuff there's the occasional gem to be had - probably true of buying just about anything on Ebay! I've missed out on a couple of things, a perspex Aria Legend body in particular which would've been fun to put together, but a couple of weeks ago I managed to secure both the body and neck of a Westone Thunder I-A.

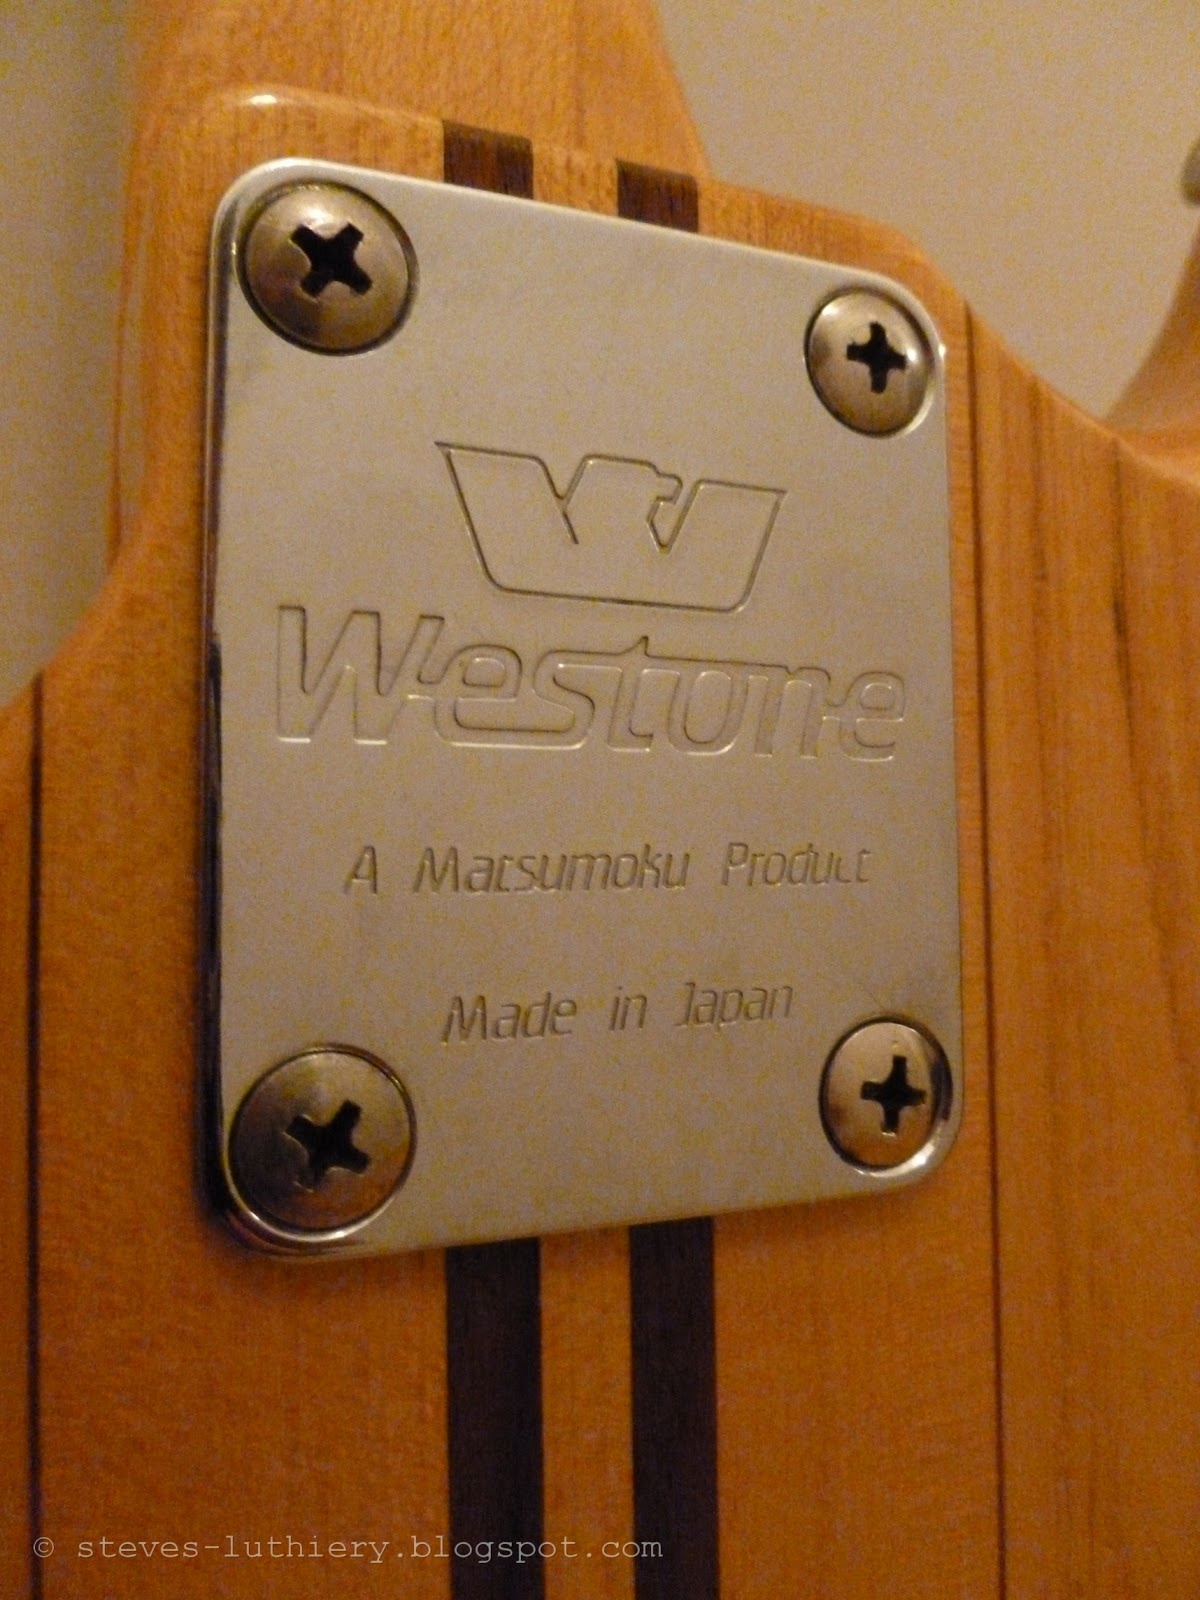
It was made in 1986 by the well-regarded Matsumoku factory in Japan, and in simple terms is a double-cutaway, fixed-bridge, twin-humbucker guitar. The thing that sets it apart though, is the active pre-amp circuit that's built in - hence the "A" in "I-A". I also happen to think it's a really nice looking guitar, with laminated Ash/Maple/Walnut body that's put together to resemble a neck-through-body construction. There was a neck-through version of it in the Westone range apparently, but this one is actually a bolt-on neck.


The neck has its original tuners but is missing a nut, otherwise it looks in good condition bar the odd minor ding and scratch. The body could definitely be described as "well-used" and has a fair few little dents and marks, plus quite a bit of pick-wear on the front, but it's just cosmetic. I suppose I could sand down the body and re-lacquer it but the cosmetic wear isn't something that particularly bothers me, not at this stage anyway. Maybe that's something I can do at a later date, but for now I just want to get it working. The body has the original (I presume) bridge - a fixed, string-through-body design - and most of the electrics (including the all-important active circuit) but is missing a push/pull tone pot, pickup selector switch and the pickups.


There's some great information on the internet about it, particularly at westone.info which is an absolute treasure-trove of information, including an all-important wiring diagram. The model I have is the Version 5 on this page.

I figured that I could just get some cheap pickups and get it working, but I'd rather make the best of it that I can - so I've decided to get a set of Seymour Duncans, and hopefully it'll sound really good. Most of the parts are now on order, so I'll post a bit more about them as and when they arrive.

Monday 5 November 2012

Cavities Covered

After a little more sanding and scraping, I've finally glued the cavity covers in place - with a generous helping of wood glue and several dictionaries used to ensure uniform pressure all the way round each glued joint!


The end result has turned out pretty well, in most places the join is almost flush with the body surrounding it. Some areas are slightly proud of the surface of the body and will need sanding down a little, and in one or two places they're slightly below the surface - neither of which really matters too much. There are small gaps between the edges of the covers and the body, since inevitably the covers weren't a perfect fit, but nothing a little wood filler won't sort out.


All this was done a couple of weeks ago, but I've been distracted from this project (and from blogging about it) by a new project...more on that soon!

Sunday 16 September 2012

It's Been A While...


Well, even by my standards, it's been a long while since I posted anything on here!

I did do some more work around the cavities back in May, including cutting the covers from a piece of 3.6mm plywood - they were cut pretty roughly, as you can see here in a photo I took back in May:


Then came something of a hiatus over the summer (such as it was!) but over the last couple of weekends I've finally had time to work on them a bit more and get both the covers and the cavity recesses down to a state where they're almost ready to be glued in. The edges of the recesses were naturally a little untidy so they've been tidied up a bit, and obviously there was a lot to sand off the edges of the covers. It's slow work, and I guess the progress may not be entirely clear from photos (and the blog pretty much stands or falls on the photos!) but all three covers are pretty much down to the right size, and the larger of the two rectangular ones has also got the recess almost down to the required level.


There's just a little more careful sanding and filing to do, and I'll be ready to glue them into place. There will probably be some slight gaps in places around the edges of the covers, but they will be easy enough to fill.

In hindsight, this has been a lot of work, and maybe trying to find the money for a decent router might've been worth it - but doing it by hand has been really rewarding. I'm glad it's almost done though!

Sunday 15 April 2012

Project #2!

I may have mentioned early on in this blog that my plan once the Marlin is finished is to move on to at least one kit guitar, to familiarise myself with different build styles, electrics and the like. Well, a couple of weeks ago I bought the kit for project number 2!

I'd seen the Saga guitar kits on various websites, and read good reviews, and given that they're a reasonable price (about £140-£190) I thought that'd be a good place to start. They do quite a range of guitar and bass kits, all based on classic models, from Strat, Les Paul and Precision bass through to Flying V (very tempting!) and PRS-style. My original plan was to get a Les Paul or PRS-style one, since that's more my kind of guitar than a Fender-style one, but thought perhaps I'd get a Strat one in the future to learn more about building and setting up a guitar with a tremolo (the music anorak in me wants to call it vibrato, but trem is the "received" term for it!).

However, most of the British sites I've seen that list them, show them as "out of stock" or "limited availability" so I was very happy to see the nice people at Firebox (a site I often use for buying gifts) start selling the Strat and Les Paul ones a few months ago. Before too long though, the Les Paul one had disappeared from their site, sold out I assumed. I checked back last month on a whim to see whether it was back, or whether the Strat one had disappeared too, only to find the Strat kit on sale for just £84! My wife convinced me I should get it right away, so I did, and here it is:


Firebox now don't stock either kit, so although I might not get started on it for a while I'm glad I got it when I did. I've not got much idea what to expect for how it'll turn out, but to get everything I need to build a guitar for £84 is great - bar the paint/lacquer, the body comes unfinished. It should make for a fun project and good experience, and if it turns out well I can always use it for further experimentation with different pickups and electrics.

Tuesday 10 April 2012

Recess Session

I've now done the basics of the recesses around the cavities - not quite deep enough yet but that will be done very carefully once I've cut the covers, to ensure they fit flush with the surface of the body around them. The work so far was done with a Stanley knife and steel rule to scribe the edges, giving a nice straight line (which mostly worked!) and then careful chipping with a small chisel to remove a couple of millimetres of wood. The plywood is fairly crumbly below the surface veneer and splits easily, so I was even able to do some parts by carefully scraping with the chisel by hand.

General view:


Close-up:


Each one has slightly irregular widths around each side, since they're all quite close to the edges of the body - so the recess is narrower on the side that's closer to the edge, then wider on the other sides where possible to give a larger surface area to glue down the covers.

Monday 2 April 2012

Dig Your Own Hole(s) (part 3)

Not finding time to work on the Marlin seems to be a recurring theme on this project, but I've finally finished the cavities!

The last one was a little awkward to chisel out, as it's so narrow, but it just took some patience and regular clearing out of all the shards and chunks. Here's the result:


Which leaves me with the finished cavities looking like this:


The final weight is 2.41kg, which is pretty good - not quite sure how that adds up with the weight after the previous cavity as it's a little less than expected, but that's a good thing so I'm happy with how it's turned out! It's definitely been worth it.

I've already bought a piece of 3mm plywood from which I'll cut the cavity covers, but the next task will obviously be to create the recesses around the cavities that the covers will fit into. Then once the cavities are covered, it's downhill to painting...

Wednesday 29 February 2012

Dig Your Own Hole(s) (part 2)

Finished off the second cavity on Monday evening:


The weight is now down to 2.48kg, so a loss of 130g so far. A decent start, not quite what I had hoped for but pretty good. One more to do, then maybe enlarge them a bit to lose some more!

Saturday 25 February 2012

Dig Your Own Hole(s)

Another instance of me having time to work on the Marlin but then no time to blog about it!

I spent some time last weekend starting on the cavities and actually made quite a bit of progress. The first task with each one was to use the hand drill to remove what I could - quite time-consuming since the drill only takes up to a 6mm bit, but it's the best way to start things off. A piece of masking tape around the bit at a depth of just over 3cm served as an indication of reaching the correct depth, and I made as many holes as I could, a few mm apart, almost up to the planned edges of the cavities. It ended up looking a little like swiss cheese - or perhaps like it'd been attacked by a freakishly-large woodworm!


Then I removed the rest of the wood from the planned cavity using a chisel, which was made much easier with all the holes I'd already made with the drill. The layers of the plywood also helped with making this fairly easy. I managed to just about finish the first cavity, and get about half-way down the larger one before I ran out of time:


Hopefully I'll have some time tomorrow to finish off the second cavity and possibly make a start on the third one too. Weight loss so far is OK - I weighed the body after finishing the first cavity and before starting the drilling on the second one, and I'd removed ~50g. Doesn't sound like a lot but it's the smaller of the two so far, and it's almost (if not quite) what I had calculated I would lose from that one. We'll see what it's like once I'm done with the big one!

Saturday 11 February 2012

To Cavity Or Not To Cavity...

I've been considering my plans for making cavities in the body of the Marlin, and done some (fairly approximate) calculations to try to figure out how much weight I can remove that way. I also bought a set of luggage scales in order to finally get an accurate reading on the current weight of the body since the bathroom scales really don't do the job! The result - it weighs 2.66kg.

I then used one of the chunks I sawed off from the body to try to calculate the approximate density of the wood. It weighs approximately 35g, and having immersed it in a jug of water, it's approximately 70cc - so the wood is about 0.5g/cc.

I'd like to remove about 300g, so that's 600cc - but having marked out some possible cavity locations (see pics below), and assuming I go to a depth of 3cm then they'll remove about 460cc, therefore about 230g. Not ideal, and obviously I'll then re-add a little of that weight when I cover the cavities with some thin pieces of wood.


So the question is, is it really worth the hassle for what probably won't be a huge weight gain? It's going to be a pain to do, and it'll certainly be a pain to do well - not just creating the cavities but adding recesses around the edges, cutting and gluing the covers over the recesses.

Well, I've decided it is worth the hassle. It's still pretty heavy so anything I can gain will make a difference, and frankly this project is about the experience as much as anything else, so why not do it now when it doesn't really matter if I mess it up? Nothing ventured nothing gained and all that! I'll do one cavity first and see how close my calculations were, and then I'll have a better idea of what the end result will be - and whether I can do a little less or a little more to achieve what I want.

More on this soon!

Sunday 29 January 2012

Rounding Off The Edges (Part 2)

Finally an update...well, finally I had some time last Sunday to work on the Marlin, and finally today I've had time to write a blog post about it!

I did the shaping of the back edges of the body, to try to match up with what I'd already done on the front. It's not perfect yet but it's almost there, and I can do the rest when I tidy it all up before painting. I also haven't done any extra shaping of the arm or rib cuts yet, but that can come later.


As expected it's still pretty heavy despite what I've removed so far, so I've decided to have a go at making a cavity or two in the body since that's the easiest way to lose a significant chunk of weight now. It's going to be tricky and I might make a horrible mess of it, but that's the point of this project really - it doesn't matter if I screw it up!

I'll try to post again soon (famous last words) about my plans for cavities, but I need to make the plans first!