Saturday, 27 July 2013

A Case for the Westone...and more!

Back from holiday and time to update the blog with events of a few weeks ago...

I'd been on the lookout for a hard case for the Westone ever since I bought it, without much hope though as I knew that an original fitted case for a guitar that's over 25 years old was likely to be a pretty rare thing.

However, a couple of months back one appeared on eBay, and I managed to win the auction. When it arrived it was pretty mucky and had that thick musty smell that only comes from sitting in a cupboard or attic for at least ten years! Behold the layer of crap:


But I cleaned it up a bit, fixed the middle hinge (it was missing its pin, so that was easily replaced with a nail) and now it looks pretty good, albeit with some inevitable wear and tear - and it fits my Thunder 1a perfectly, which was the main thing. Once it was cleaned up, the logo was actually visible:


The thing is, the case came with an added extra (well, two); the body and neck of another Westone Thunder, this time a 1984 Thunder 1! It's been quite heavily customised - someone has very roughly hewn a third pickup cavity into it, and also added a second mini-switch hole below the one mini-switch that would've been there originally. It's unfinished, has no hardware (not even the neck plate and bolts), cavity covers or electrics and badly needs a refret - so there's a lot more to do on this one than there was on my 1a!


It should prove to be another interesting project though, as I'll have to learn some new skills (not least re-fretting) and even have to make some of the parts myself, such as the cavity covers and possibly even a custom one-piece 3-humbucker pickup ring. The extra pickup cavity needs tidying up quite badly, too:


It'll be on the back burner for now though, as I should really get back to finishing that Marlin that I started so long ago...

Tuesday, 28 May 2013

Mini-Project - Encore PRS Copy

After finishing the Westone I decided it was time to finally fix up my first ever 6-string electric - an old Encore PRS copy that I bought second hand back in the mid-90s. I'm calling it a PRS copy since it looks like that was what they were going for with a Strat (ish) shape, two humbuckers and a Strat-type trem, and I have no idea of an official model name or number for it. I've scoured the internet for more information and found nothing, not even a picture of another one like it, so I have no clue what they called it, when it was made or how much it sold for new. If anyone reading this can shed any light on it, please get in touch! The reason I've decided to do it up is that I've decided to sell it - I don't play it any more and I need the space, so it's time to let it go.

The problem it's had for years now is that a chip broke off the end of the nut - it's never caused a problem with how the guitar plays, but I wouldn't buy a guitar that looked like this, so why try to sell one like it! A couple of close-ups of the damage:


In these photos you can also see the huge amount of glue that had been used to glue it in originally, and the fact that, somewhat unhelpfully, it had obviously been glued in before the neck was covered in an equally huge amount of lacquer. That made it a little tricky to remove it without ruining the lacquer around the edges, but after carefully scoring through the surface of the lacquer with a sharp knife I was able to gently tap it out with a small hammer. That left a fair bit of glue in the slot:


That was easy enough to file away though:


Then it was fairly simple, as with the Westone, to sand down the new nut to the right height and glue it into place:


Then, after a setup to get it playing as well as possible, a picture of the whole, finished guitar - complete with new tremolo arm, since I'd lost the old one!


Surprisingly enough for an Encore (as any guitarist will tell you, their cheap Strat copies are pretty nasty), it's actually a really nice guitar to play, and it sounds good too. The volume control has a push-pull switch to coil split the pickups, and it's pretty nice looking too! Not nice enough to keep though, so hopefully the local guitar shop will take it off my hands...unless you'd like to make an offer!

Thursday, 7 March 2013

Westone - Completed

Quick progress last weekend - and everything is now finished except the final setup!

After de-soldering the broken switch and soldering in the new one, I removed everything from the cardboard and mounted it into the cavity, which was fiddly but not too complicated, and no broken connections as far as I could tell. Then came soldering back together the battery wires (not too difficult as they were loose away from the rest of the components), and the particularly awkward part; soldering in the pickup wires. That was something of a pain but I got there in the end:


The last thing to do on the electrics was to strip back the earth wire before re-mounting the bridge:


Once the bridge was back on, I put on a single string just to test the electrics - I didn't have too much confidence that it would all work without any problems, so I figured why waste time putting all six strings on! So that was the moment of truth...I plugged it in, and...just as I had feared, scratches, pops, noise. It turned out though that the noise was simply coming from a noisy volume pot on my amp, and the guitar is absolutely fine! All the controls work as intended, and the active circuit (which I had, of course, not been able to test until now) works well too. It now has a full complement of strings, and sounds good so far - although it needs a full setup of the neck, bridge and pickup heights to get the best out of it of course.

A few photos of the finished article:


Monday, 25 February 2013

Soldered, Part 2


A bit more progress yesterday, although not without its frustrations.

I managed to get the remaining connections between the pots and switches done, with things getting increasingly fiddly in amongst the ever-increasing maze of wires. Then using the "helping hands" to suspend the cavity cover and preamp circuit over everything I'd already done, I started connecting up the wires from the preamp. The first one to do was the connection to the mini-switch that acts as an on-off switch for the preamp, so I soldered it into place and went to check it with the multimeter - only to find that the switch doesn't work properly. I thought I had tested it before I started soldering, but whether it was broken before or I've somehow broken it, it's definitely broken now! I've ordered a replacement, which happens to be black, to fit in with the knobs and pickup switch tip I already have.


I figured that while I had the cavity cover suspended in place, I might as well finish connecting up the preamp circuit - so all those connections are now done. Once the replacement switch arrives, I'll de-solder the broken one and solder in the new one, and then I'll be able to carefully remove everything from the cardboard and mount it into the guitar, hopefully without breaking any of the connections! Once it's all in, there will just be the pickups and battery clips to connect and I'll be able to find out if it all works...

The current, somewhat precarious state of affairs:


Also, I forgot to mention last time but I've had to be a little careful with replicating the circuit diagram as regards the two push-pull pots. I discovered (before I started soldering, thankfully) that the two I have (one that came with the guitar, one that I bought) work the opposite way to one another, which meant I had to reverse the connections on the phase switch from the circuit diagram to make sure it works the expected way (i.e. pushed down = in phase, pulled up = out of phase). Hopefully I've got my adjustments to the circuit right!

Tuesday, 19 February 2013

Soldered, Part 1

Soldering commenced at the weekend - the first time I've done any since I was at school, so progress was a little faltering at first! I started with a few of the ground wires, checking each connection carefully with the multimeter as I went along:


These all seemed to be OK, so I carried on with some more of the connections between them, including the shielded wire (salvaged from the scraps that came with the guitar) from the input jack to the volume pot, and the tone capacitor:


The soldering is a bit messy in places, but I've checked everything as I've gone along and it all seems fine. We'll see if it all works OK once it's finished and plugged in, but I'm happy with the results so far! There are a couple more wires to be added between these components, then I'll be able to connect up the preamp circuit, and after that, get it all mounted into the cavity and connect the pickups and battery clips.

Tuesday, 12 February 2013

De-soldered...

I've desoldered all the remaining connections in the Westone now; there weren't many left and it seemed to make sense to disconnect everything and start again from scratch. I'll be following the circuit diagram on westone.info once I start putting everything back together.

Once the desoldering was done, I mounted the switches, pots and jack onto a piece of cardboard, in positions corresponding to their mountings in the guitar - this will make it easier to solder the rather fiddly connections than trying to do it all with everything still in the cavity. I may have to do some or all of the pickup and battery clip connections once everything's mounted back in the cavity, but the more I can do with it all accessible the better. The preamp circuit is mounted to the back of the cavity cover, which may make those connections a little awkward, but I'd rather not remove it if I can help it, and I doubt it'd make much difference anyway.

Some photos:


Tuesday, 8 January 2013

Mounting The Zebras


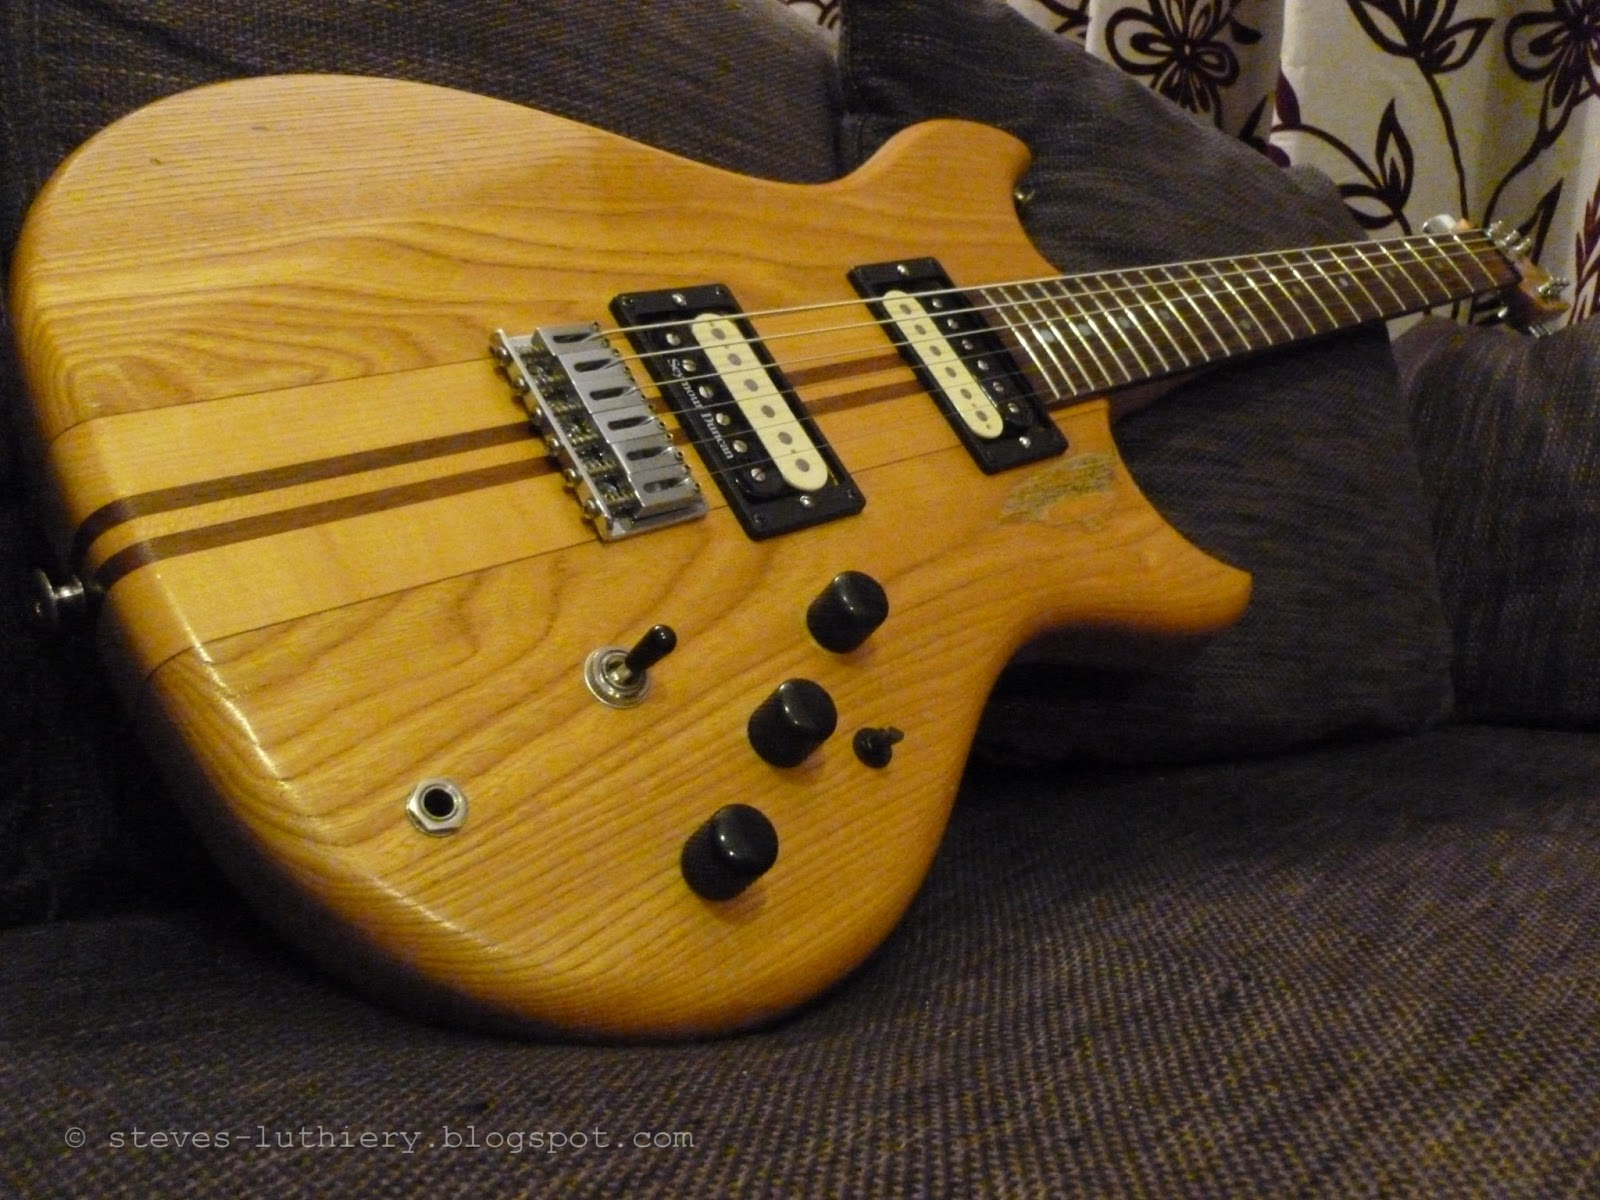
As you can see below, the pickups are now mounted, although nothing is wired up yet.


It's starting to look at little more like a finished guitar, and I'm really happy with the way the reverse zebra pickups look now I can finally see them in position. You can see the pick-wear on the front of the body pretty well on these pictures, something I suppose I'd like to sort out at some point in the future - but not yet!


The next challenge is to figure out how to wire it all up, another thing I'm new to but I have plenty of information available to me between the Seymour Duncan website, the circuit diagram on the Westone site and Melvyn Hiscock's excellent book, so I'm sure I'll be able to work it out.