Sunday, 6 January 2013
One Ring To Rule Them All...
So now for the "slightly long story", as promised in my previous post!
I needed to order a pair of pickup mounting rings in order to mount the pickups into the body, and I wanted, if at all possible, to find a pair that would fit the existing mounting holes that are drilled into the body of the guitar so I wouldn't have to fill the holes and re-drill them. However, finding exactly what I wanted proved nigh-on impossible, especially since I needed flat rings not tapered ones.
To explain a little (without, I hope, going into too much boring detail - or teaching anyone to suck eggs so to speak!) a Gibson Les Paul-type guitar has a tall bridge, which means the neck needs to be mounted at a slight angle to the body, to ensure that the strings run at the correct height and angle over the neck - and therefore the strings run at that same angle over the pickups. This means that the pickup rings on a Les Paul need to be tapered in order that the pickups are held parallel to the strings, not parallel to the surface of the body. My Westone however, has no neck angle, similar to (for example) a Fender Stratocaster, so the strings run parallel to the surface of the body, and hence flat pickup rings are needed rather than tapered ones.
A diagram illustrating the need for tapered rings on a Les Paul can be seen part of the way down this page.
Flat pickup rings seem to be rather less common than tapered ones (I suppose because most guitars that need pickup rings are Les Paul-type guitars with an angled neck), and on top of that, they seem to be made with an almost infinite variety of combinations of the distances between the mounting screws! Many websites simply don't list the dimensions, so I sent numerous emails out, usually to find that the holes were one or two millimetres out from what I needed. After many hours of searching and emailing I ended up ordering a couple of tapered pairs because I simply couldn't find flat ones with the right measurements - with the intention of sanding them flat.
Then, some weeks later, the trembucker was delivered, and it comes with a pickup ring of its own since apparently due to their slightly wider size than standard pickups, they don't always fit a standard pickup ring. So (and you can probably see where I'm going with this) imagine my surprise when this pickup ring turns out to be exactly the right size I need for the Westone, and moreover, it's flat not tapered! So a quick web search turned up a guitar shop in the US (Mike's Music Shop - great service and the fastest order despatch I've ever had!) that sells them individually, I ordered one and it turned up on Christmas Eve! At last, I have all the parts I need to complete the project.


Westone Parts, Part 2
Over the last few weeks I've taken delivery, bit by bit, of all the remaining parts that I needed for the Westone. The main thing that was outstanding was the bridge pickup - I've gone for a Seymour Duncan "Duncan Custom", which will give a bit more oomph than the '59 that I've got for the neck position, but they should go well together to give a good range of tones and sounds.

I needed to get the "trembucker" version for the bridge position on this guitar - this is Seymour Duncan's term for pickups with a slightly wider spacing between the pole pieces, generally for guitars with tremolo rather than fixed bridges. The string spacing for a standard fixed bridge (e.g. the tune-o-matic on a Les Paul) is a shade under 2" from low E to high E string, but for tremolo bridges (and some fixed bridges, like the one on this Westone) it's slightly over 2". This means that the ideal spacing of the pole pieces on the bridge pickup will be slightly different dependent on the bridge type, to ensure that the strings pass directly over the poles.
So, because I've been a bit choosy with the pickups and gone for the "Reverse Zebra" colours (see here for an explanation of the difference between Zebra and Reverse Zebra), in addition to needing the trembucker version (especially of one of the less popular/common Seymour Duncan models, from what I can tell of how few UK websites listed it!), I had to wait 4-6 weeks for the pickup to be ordered through from the US!
Needing the trembucker did solve another problem though, somewhat fortuitously - but that's a slightly long story so I'll go into it in another post...
Saturday, 5 January 2013
Westone Nut Done
Happy New Year, blog-readers (bloggees? blog-ites?). I've made a little progress with the Westone since my last post, mainly with the installation of the nut. It needed quite a bit of sanding in order to fit, partly since it was inevitably too high, but also because the slot between the end of the fretboard and the truss rod cover is somewhat narrower than the base of the nut was pre-sanding. This meant I needed to sand a little off the back of the nut in order that it would fit snugly into the slot, as you can see from this photo.

Once I had it sanded down a bit I put a couple of strings on in order to check the height, and sand it down little by little until I had it at the correct height. According to the excellent book "Make Your Own Electric Guitar" by Melvyn Hiscock (a mine of useful information) the correct height is when the string just clears the first fret when fretted at the third. I think I've got this right, if not I might be in trouble later!
Then I removed the strings, and glued the nut in place with a couple of small dabs of glue - taking care not to get any into the truss rod channel or on the truss rod cover itself. I'm not going to worry about doing any more of the setup yet, that can wait until after the electrics are done.


I've also cleaned up the bridge and machine heads, since they were covered in what looked like a good few years worth of grime.
Lastly for today, if I were to make a New Year's resolution this year, it'd be to find more time to work on these projects - and to update this blog! So hopefully you'll hear from me a little more regularly this year...beginning with a couple of posts in the next few days about the other progress I've made in the last couple of months.
Sunday, 11 November 2012
Westone Parts, Part 1
The first two packages of parts for the Westone arrived on Wednesday and Thursday - the main item being the neck pickup, a Seymour Duncan '59. I've gone for the "reverse zebra" version, in which the black and cream bobbins are switched from the "standard" zebra configuration, so the black bobbins are on the outside of the pickups as they sit in the guitar. Click here for a pictorial example from the Seymour Duncan website (although I don't know why they have it upside down).
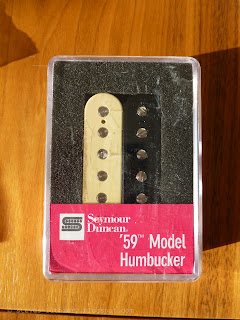
The drawback of the reverse zebra is that they seem to be rarer, and I've got to wait about 4 weeks for the bridge pickup I've ordered to come into stock from the US!
Also delivered this week were a few of the bits and bobs that are needed - the tone pot, pickup switch, nut, knobs, capacitors and some extra wire.

So that leaves just the bridge pickup and the pickup mounting rings, and I'll have everything I need.
Tuesday, 6 November 2012
Project #3 - Westone Thunder I-A
Well, so project #1 is still progressing, albeit slowly, and project #2 is still in its box, but project #3 is now about to take off! Maybe I should take one thing at a time, but this one requires rather less work than the first two and it should be fun.
I've been keeping an eye on Ebay for a while in case any interesting potential projects come up, and in amongst a lot of rubbish and over-priced stuff there's the occasional gem to be had - probably true of buying just about anything on Ebay! I've missed out on a couple of things, a perspex Aria Legend body in particular which would've been fun to put together, but a couple of weeks ago I managed to secure both the body and neck of a Westone Thunder I-A.
It was made in 1986 by the well-regarded Matsumoku factory in Japan, and in simple terms is a double-cutaway, fixed-bridge, twin-humbucker guitar. The thing that sets it apart though, is the active pre-amp circuit that's built in - hence the "A" in "I-A". I also happen to think it's a really nice looking guitar, with laminated Ash/Maple/Walnut body that's put together to resemble a neck-through-body construction. There was a neck-through version of it in the Westone range apparently, but this one is actually a bolt-on neck.

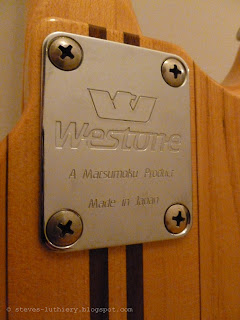
The neck has its original tuners but is missing a nut, otherwise it looks in good condition bar the odd minor ding and scratch. The body could definitely be described as "well-used" and has a fair few little dents and marks, plus quite a bit of pick-wear on the front, but it's just cosmetic. I suppose I could sand down the body and re-lacquer it but the cosmetic wear isn't something that particularly bothers me, not at this stage anyway. Maybe that's something I can do at a later date, but for now I just want to get it working. The body has the original (I presume) bridge - a fixed, string-through-body design - and most of the electrics (including the all-important active circuit) but is missing a push/pull tone pot, pickup selector switch and the pickups.


There's some great information on the internet about it, particularly at westone.info which is an absolute treasure-trove of information, including an all-important wiring diagram. The model I have is the Version 5 on this page.
I figured that I could just get some cheap pickups and get it working, but I'd rather make the best of it that I can - so I've decided to get a set of Seymour Duncans, and hopefully it'll sound really good. Most of the parts are now on order, so I'll post a bit more about them as and when they arrive.
I've been keeping an eye on Ebay for a while in case any interesting potential projects come up, and in amongst a lot of rubbish and over-priced stuff there's the occasional gem to be had - probably true of buying just about anything on Ebay! I've missed out on a couple of things, a perspex Aria Legend body in particular which would've been fun to put together, but a couple of weeks ago I managed to secure both the body and neck of a Westone Thunder I-A.
It was made in 1986 by the well-regarded Matsumoku factory in Japan, and in simple terms is a double-cutaway, fixed-bridge, twin-humbucker guitar. The thing that sets it apart though, is the active pre-amp circuit that's built in - hence the "A" in "I-A". I also happen to think it's a really nice looking guitar, with laminated Ash/Maple/Walnut body that's put together to resemble a neck-through-body construction. There was a neck-through version of it in the Westone range apparently, but this one is actually a bolt-on neck.

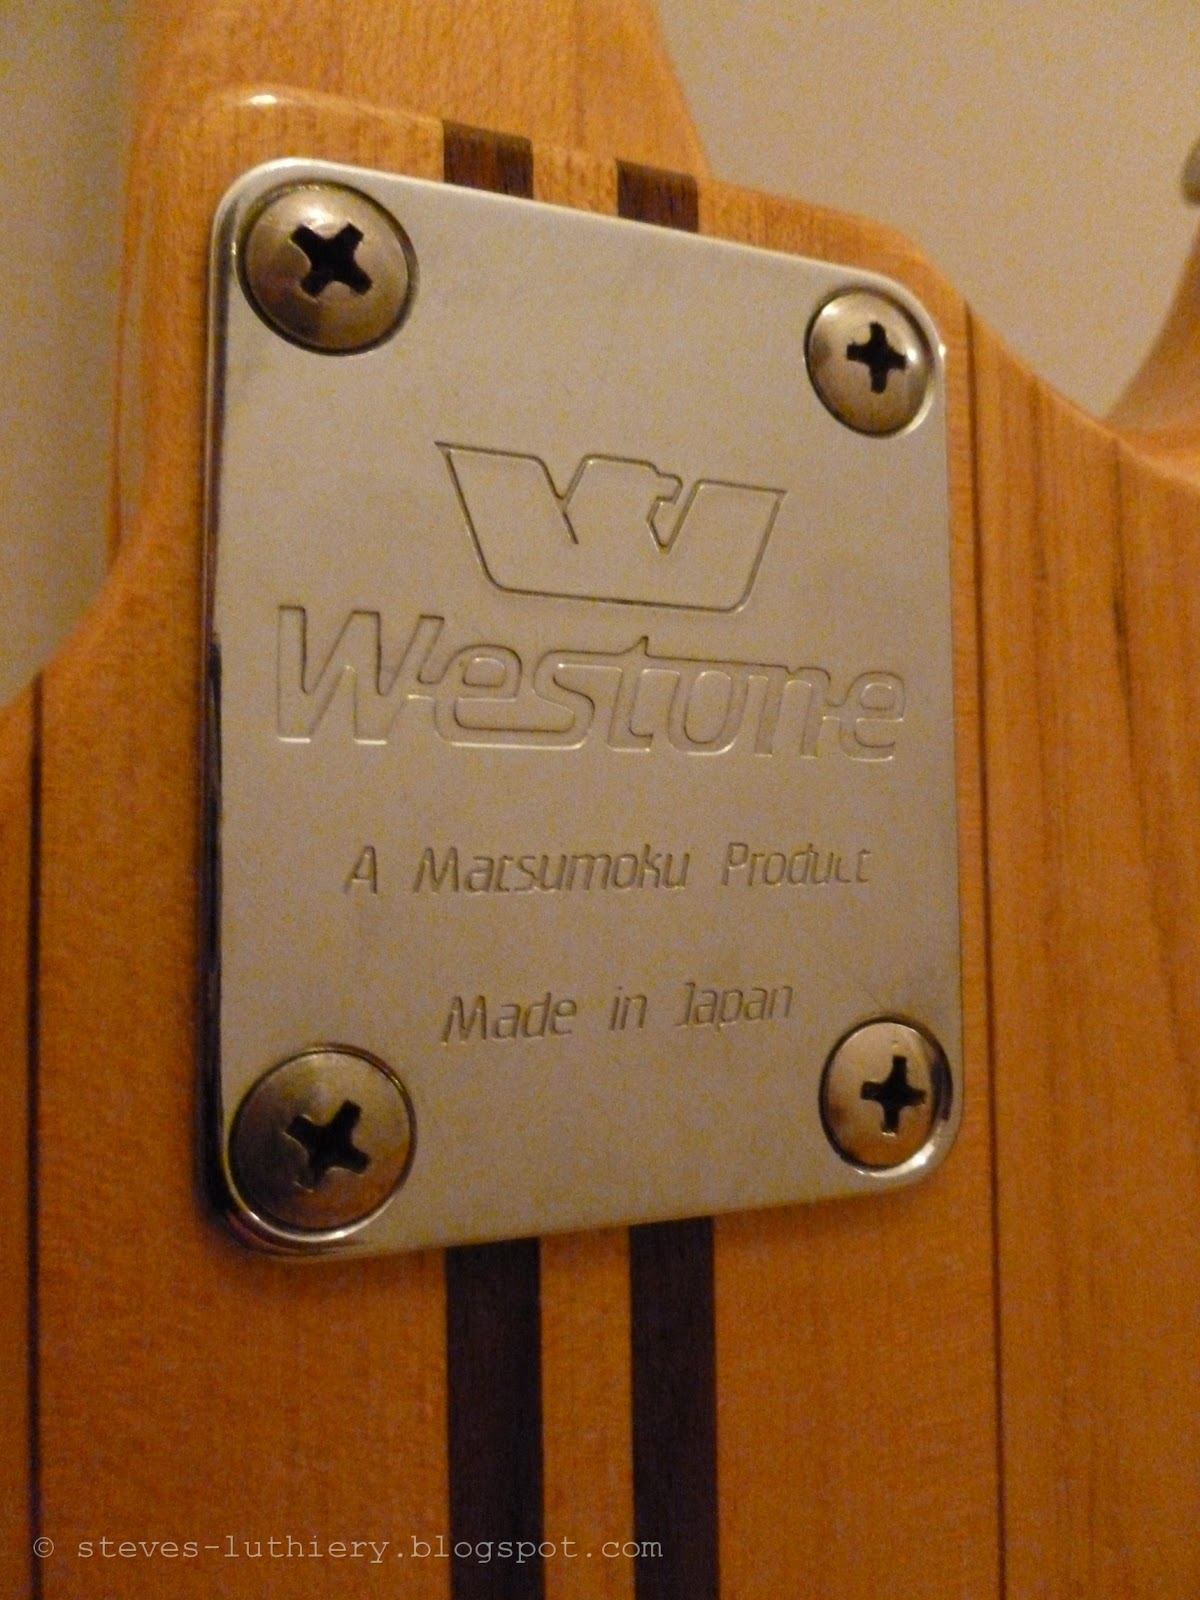
The neck has its original tuners but is missing a nut, otherwise it looks in good condition bar the odd minor ding and scratch. The body could definitely be described as "well-used" and has a fair few little dents and marks, plus quite a bit of pick-wear on the front, but it's just cosmetic. I suppose I could sand down the body and re-lacquer it but the cosmetic wear isn't something that particularly bothers me, not at this stage anyway. Maybe that's something I can do at a later date, but for now I just want to get it working. The body has the original (I presume) bridge - a fixed, string-through-body design - and most of the electrics (including the all-important active circuit) but is missing a push/pull tone pot, pickup selector switch and the pickups.


There's some great information on the internet about it, particularly at westone.info which is an absolute treasure-trove of information, including an all-important wiring diagram. The model I have is the Version 5 on this page.
I figured that I could just get some cheap pickups and get it working, but I'd rather make the best of it that I can - so I've decided to get a set of Seymour Duncans, and hopefully it'll sound really good. Most of the parts are now on order, so I'll post a bit more about them as and when they arrive.
Monday, 5 November 2012
Cavities Covered
After a little more sanding and scraping, I've finally glued the cavity covers in place - with a generous helping of wood glue and several dictionaries used to ensure uniform pressure all the way round each glued joint!


The end result has turned out pretty well, in most places the join is almost flush with the body surrounding it. Some areas are slightly proud of the surface of the body and will need sanding down a little, and in one or two places they're slightly below the surface - neither of which really matters too much. There are small gaps between the edges of the covers and the body, since inevitably the covers weren't a perfect fit, but nothing a little wood filler won't sort out.


All this was done a couple of weeks ago, but I've been distracted from this project (and from blogging about it) by a new project...more on that soon!
Sunday, 16 September 2012
It's Been A While...
Well, even by my standards, it's been a long while since I posted anything on here!
I did do some more work around the cavities back in May, including cutting the covers from a piece of 3.6mm plywood - they were cut pretty roughly, as you can see here in a photo I took back in May:

Then came something of a hiatus over the summer (such as it was!) but over the last couple of weekends I've finally had time to work on them a bit more and get both the covers and the cavity recesses down to a state where they're almost ready to be glued in. The edges of the recesses were naturally a little untidy so they've been tidied up a bit, and obviously there was a lot to sand off the edges of the covers. It's slow work, and I guess the progress may not be entirely clear from photos (and the blog pretty much stands or falls on the photos!) but all three covers are pretty much down to the right size, and the larger of the two rectangular ones has also got the recess almost down to the required level.

There's just a little more careful sanding and filing to do, and I'll be ready to glue them into place. There will probably be some slight gaps in places around the edges of the covers, but they will be easy enough to fill.
In hindsight, this has been a lot of work, and maybe trying to find the money for a decent router might've been worth it - but doing it by hand has been really rewarding. I'm glad it's almost done though!
Subscribe to:
Posts (Atom)