Almost a year without a post, but that doesn't mean I haven't been doing anything...just not a lot!
I've sanded down the Marlin a bit more, done some careful work tidying up the extra pickup cavity on the second Westone, but nothing much worth blogging about. A few months ago I bought the body/neck of a Bond Electraglide (if you've never heard of it, click the link - an oddity for sure), which I had intended to write a post about but never got round to it - so more on that later!
This post however, is about a project I have been working on over the last couple of weeks.
A few months ago I picked up the body of an Ibanez S series at the North West Guitar Show - it's a nice looking guitar with a poplar burl top, in good condition so I grabbed it thinking it wouldn't take much effort to fix up. Some further investigation revealed it to be an S670PB, a model made while Ibanez were still making the S series with 22 fret necks (they switched to 24 frets a few years ago to match the majority of their other guitars).
A good view of the thin, tapered S series body profile:
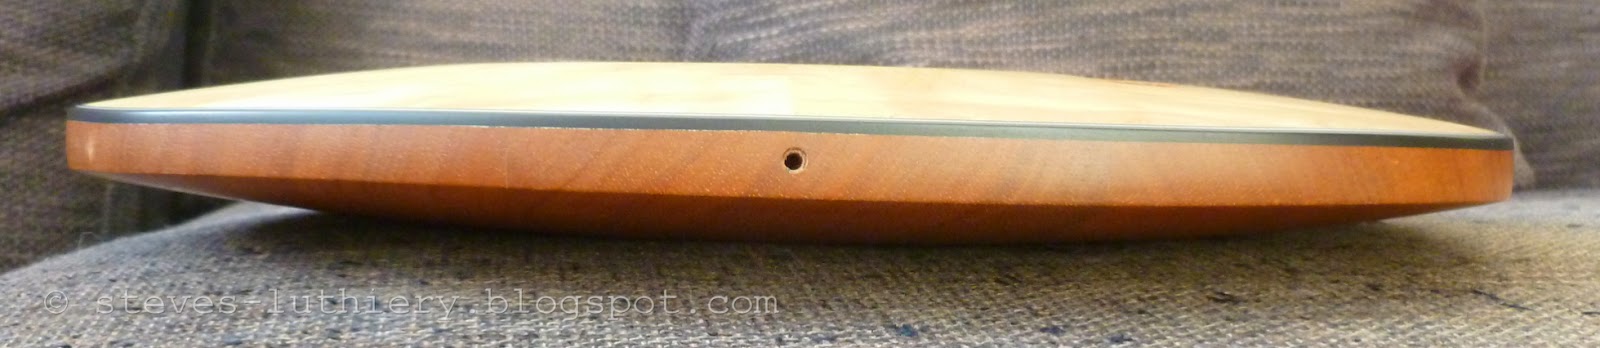
The mahogany body even looks nice from the back:
Having done this research, it became apparent that it would be a bit harder than I had expected to find parts to complete the project. While there are huge numbers of Ibanez parts available on eBay, most of the necks are 24 fret ones, and the few 22 fret necks available tend to be in the US (hence large postage, and probably customs, costs) and not in particularly good condition. Add to that the fact that the S670PB needed the ZR bridge, not one of the more common Edge models - a new ZR bridge is listed on the Ibanez website as ~$400 so I needed to find a second hand one of those too!
Eventually I found someone in the UK selling what I needed - seemingly the neck and all the hardware from a single guitar, so I took my chance and got a deal on buying it all together. The neck is from an S470DX (the DX apparently means "deluxe" in Ibanez-speak) and all the hardware is in their "cosmo black" colour. I love the "wave" inlays on this neck:
The neck needed a little sanding of the heel to fit perfectly, and a little persuasion to screw into place, but it fits very nicely in the end - as does all the rest of the hardware.
The "Zero Point" system of two sets of springs, supposedly giving the bridge more stability:
So all that remains is to put in some electrics; I haven't chosen what pickups to put in yet though. Since I may sell this one once it's complete, I'd be interested to know if anyone out there reading this would be interested in buying it - and having some input into the choice of pickups and the wiring setup! Get in touch if you would like to own this guitar...
Sunday, 31 August 2014
Tuesday, 10 September 2013
Remember The Marlin?
I nearly forgot to blog about this...not much to say, but last week I filled the gaps around the edges of the cavity covers on the back of the Marlin.
Filled, pre-sanding:
Sanded:
There are a couple of bits that will need a bit more, not least (see above) the bit in the middle of the rib cut where I had accidentally chipped away a bit of the top layer of wood, and possibly the cavity covers themselves, but it's nearly done.
Filled, pre-sanding:
Sanded:
There are a couple of bits that will need a bit more, not least (see above) the bit in the middle of the rib cut where I had accidentally chipped away a bit of the top layer of wood, and possibly the cavity covers themselves, but it's nearly done.
Saturday, 27 July 2013
A Case for the Westone...and more!
Back from holiday and time to update the blog with events of a few weeks ago...
I'd been on the lookout for a hard case for the Westone ever since I bought it, without much hope though as I knew that an original fitted case for a guitar that's over 25 years old was likely to be a pretty rare thing.
However, a couple of months back one appeared on eBay, and I managed to win the auction. When it arrived it was pretty mucky and had that thick musty smell that only comes from sitting in a cupboard or attic for at least ten years! Behold the layer of crap:
But I cleaned it up a bit, fixed the middle hinge (it was missing its pin, so that was easily replaced with a nail) and now it looks pretty good, albeit with some inevitable wear and tear - and it fits my Thunder 1a perfectly, which was the main thing. Once it was cleaned up, the logo was actually visible:
The thing is, the case came with an added extra (well, two); the body and neck of another Westone Thunder, this time a 1984 Thunder 1! It's been quite heavily customised - someone has very roughly hewn a third pickup cavity into it, and also added a second mini-switch hole below the one mini-switch that would've been there originally. It's unfinished, has no hardware (not even the neck plate and bolts), cavity covers or electrics and badly needs a refret - so there's a lot more to do on this one than there was on my 1a!
It should prove to be another interesting project though, as I'll have to learn some new skills (not least re-fretting) and even have to make some of the parts myself, such as the cavity covers and possibly even a custom one-piece 3-humbucker pickup ring. The extra pickup cavity needs tidying up quite badly, too:
It'll be on the back burner for now though, as I should really get back to finishing that Marlin that I started so long ago...
Tuesday, 28 May 2013
Mini-Project - Encore PRS Copy
After finishing the Westone I decided it was time to finally fix up my first ever 6-string electric - an old Encore PRS copy that I bought second hand back in the mid-90s. I'm calling it a PRS copy since it looks like that was what they were going for with a Strat (ish) shape, two humbuckers and a Strat-type trem, and I have no idea of an official model name or number for it. I've scoured the internet for more information and found nothing, not even a picture of another one like it, so I have no clue what they called it, when it was made or how much it sold for new. If anyone reading this can shed any light on it, please get in touch! The reason I've decided to do it up is that I've decided to sell it - I don't play it any more and I need the space, so it's time to let it go.
The problem it's had for years now is that a chip broke off the end of the nut - it's never caused a problem with how the guitar plays, but I wouldn't buy a guitar that looked like this, so why try to sell one like it! A couple of close-ups of the damage:
In these photos you can also see the huge amount of glue that had been used to glue it in originally, and the fact that, somewhat unhelpfully, it had obviously been glued in before the neck was covered in an equally huge amount of lacquer. That made it a little tricky to remove it without ruining the lacquer around the edges, but after carefully scoring through the surface of the lacquer with a sharp knife I was able to gently tap it out with a small hammer. That left a fair bit of glue in the slot:
That was easy enough to file away though:
Then it was fairly simple, as with the Westone, to sand down the new nut to the right height and glue it into place:
Then, after a setup to get it playing as well as possible, a picture of the whole, finished guitar - complete with new tremolo arm, since I'd lost the old one!
Surprisingly enough for an Encore (as any guitarist will tell you, their cheap Strat copies are pretty nasty), it's actually a really nice guitar to play, and it sounds good too. The volume control has a push-pull switch to coil split the pickups, and it's pretty nice looking too! Not nice enough to keep though, so hopefully the local guitar shop will take it off my hands...unless you'd like to make an offer!
Thursday, 7 March 2013
Westone - Completed
Quick progress last weekend - and everything is now finished except the final setup!
After de-soldering the broken switch and soldering in the new one, I removed everything from the cardboard and mounted it into the cavity, which was fiddly but not too complicated, and no broken connections as far as I could tell. Then came soldering back together the battery wires (not too difficult as they were loose away from the rest of the components), and the particularly awkward part; soldering in the pickup wires. That was something of a pain but I got there in the end:
The last thing to do on the electrics was to strip back the earth wire before re-mounting the bridge:
Once the bridge was back on, I put on a single string just to test the electrics - I didn't have too much confidence that it would all work without any problems, so I figured why waste time putting all six strings on! So that was the moment of truth...I plugged it in, and...just as I had feared, scratches, pops, noise. It turned out though that the noise was simply coming from a noisy volume pot on my amp, and the guitar is absolutely fine! All the controls work as intended, and the active circuit (which I had, of course, not been able to test until now) works well too. It now has a full complement of strings, and sounds good so far - although it needs a full setup of the neck, bridge and pickup heights to get the best out of it of course.
A few photos of the finished article:
Monday, 25 February 2013
Soldered, Part 2
A bit more progress yesterday, although not without its frustrations.
I managed to get the remaining connections between the pots and switches done, with things getting increasingly fiddly in amongst the ever-increasing maze of wires. Then using the "helping hands" to suspend the cavity cover and preamp circuit over everything I'd already done, I started connecting up the wires from the preamp. The first one to do was the connection to the mini-switch that acts as an on-off switch for the preamp, so I soldered it into place and went to check it with the multimeter - only to find that the switch doesn't work properly. I thought I had tested it before I started soldering, but whether it was broken before or I've somehow broken it, it's definitely broken now! I've ordered a replacement, which happens to be black, to fit in with the knobs and pickup switch tip I already have.
I figured that while I had the cavity cover suspended in place, I might as well finish connecting up the preamp circuit - so all those connections are now done. Once the replacement switch arrives, I'll de-solder the broken one and solder in the new one, and then I'll be able to carefully remove everything from the cardboard and mount it into the guitar, hopefully without breaking any of the connections! Once it's all in, there will just be the pickups and battery clips to connect and I'll be able to find out if it all works...
The current, somewhat precarious state of affairs:
Also, I forgot to mention last time but I've had to be a little careful with replicating the circuit diagram as regards the two push-pull pots. I discovered (before I started soldering, thankfully) that the two I have (one that came with the guitar, one that I bought) work the opposite way to one another, which meant I had to reverse the connections on the phase switch from the circuit diagram to make sure it works the expected way (i.e. pushed down = in phase, pulled up = out of phase). Hopefully I've got my adjustments to the circuit right!
Tuesday, 19 February 2013
Soldered, Part 1
Soldering commenced at the weekend - the first time I've done any since I was at school, so progress was a little faltering at first! I started with a few of the ground wires, checking each connection carefully with the multimeter as I went along:
These all seemed to be OK, so I carried on with some more of the connections between them, including the shielded wire (salvaged from the scraps that came with the guitar) from the input jack to the volume pot, and the tone capacitor:
The soldering is a bit messy in places, but I've checked everything as I've gone along and it all seems fine. We'll see if it all works OK once it's finished and plugged in, but I'm happy with the results so far! There are a couple more wires to be added between these components, then I'll be able to connect up the preamp circuit, and after that, get it all mounted into the cavity and connect the pickups and battery clips.
Tuesday, 12 February 2013
De-soldered...
I've desoldered all the remaining connections in the Westone now; there weren't many left and it seemed to make sense to disconnect everything and start again from scratch. I'll be following the circuit diagram on westone.info once I start putting everything back together.
Once the desoldering was done, I mounted the switches, pots and jack onto a piece of cardboard, in positions corresponding to their mountings in the guitar - this will make it easier to solder the rather fiddly connections than trying to do it all with everything still in the cavity. I may have to do some or all of the pickup and battery clip connections once everything's mounted back in the cavity, but the more I can do with it all accessible the better. The preamp circuit is mounted to the back of the cavity cover, which may make those connections a little awkward, but I'd rather not remove it if I can help it, and I doubt it'd make much difference anyway.
Some photos:
Tuesday, 8 January 2013
Mounting The Zebras
As you can see below, the pickups are now mounted, although nothing is wired up yet.
It's starting to look at little more like a finished guitar, and I'm really happy with the way the reverse zebra pickups look now I can finally see them in position. You can see the pick-wear on the front of the body pretty well on these pictures, something I suppose I'd like to sort out at some point in the future - but not yet!
The next challenge is to figure out how to wire it all up, another thing I'm new to but I have plenty of information available to me between the Seymour Duncan website, the circuit diagram on the Westone site and Melvyn Hiscock's excellent book, so I'm sure I'll be able to work it out.
Sunday, 6 January 2013
One Ring To Rule Them All...
So now for the "slightly long story", as promised in my previous post!
I needed to order a pair of pickup mounting rings in order to mount the pickups into the body, and I wanted, if at all possible, to find a pair that would fit the existing mounting holes that are drilled into the body of the guitar so I wouldn't have to fill the holes and re-drill them. However, finding exactly what I wanted proved nigh-on impossible, especially since I needed flat rings not tapered ones.
To explain a little (without, I hope, going into too much boring detail - or teaching anyone to suck eggs so to speak!) a Gibson Les Paul-type guitar has a tall bridge, which means the neck needs to be mounted at a slight angle to the body, to ensure that the strings run at the correct height and angle over the neck - and therefore the strings run at that same angle over the pickups. This means that the pickup rings on a Les Paul need to be tapered in order that the pickups are held parallel to the strings, not parallel to the surface of the body. My Westone however, has no neck angle, similar to (for example) a Fender Stratocaster, so the strings run parallel to the surface of the body, and hence flat pickup rings are needed rather than tapered ones.
A diagram illustrating the need for tapered rings on a Les Paul can be seen part of the way down this page.
Flat pickup rings seem to be rather less common than tapered ones (I suppose because most guitars that need pickup rings are Les Paul-type guitars with an angled neck), and on top of that, they seem to be made with an almost infinite variety of combinations of the distances between the mounting screws! Many websites simply don't list the dimensions, so I sent numerous emails out, usually to find that the holes were one or two millimetres out from what I needed. After many hours of searching and emailing I ended up ordering a couple of tapered pairs because I simply couldn't find flat ones with the right measurements - with the intention of sanding them flat.
Then, some weeks later, the trembucker was delivered, and it comes with a pickup ring of its own since apparently due to their slightly wider size than standard pickups, they don't always fit a standard pickup ring. So (and you can probably see where I'm going with this) imagine my surprise when this pickup ring turns out to be exactly the right size I need for the Westone, and moreover, it's flat not tapered! So a quick web search turned up a guitar shop in the US (Mike's Music Shop - great service and the fastest order despatch I've ever had!) that sells them individually, I ordered one and it turned up on Christmas Eve! At last, I have all the parts I need to complete the project.
Westone Parts, Part 2
Over the last few weeks I've taken delivery, bit by bit, of all the remaining parts that I needed for the Westone. The main thing that was outstanding was the bridge pickup - I've gone for a Seymour Duncan "Duncan Custom", which will give a bit more oomph than the '59 that I've got for the neck position, but they should go well together to give a good range of tones and sounds.
I needed to get the "trembucker" version for the bridge position on this guitar - this is Seymour Duncan's term for pickups with a slightly wider spacing between the pole pieces, generally for guitars with tremolo rather than fixed bridges. The string spacing for a standard fixed bridge (e.g. the tune-o-matic on a Les Paul) is a shade under 2" from low E to high E string, but for tremolo bridges (and some fixed bridges, like the one on this Westone) it's slightly over 2". This means that the ideal spacing of the pole pieces on the bridge pickup will be slightly different dependent on the bridge type, to ensure that the strings pass directly over the poles.
So, because I've been a bit choosy with the pickups and gone for the "Reverse Zebra" colours (see here for an explanation of the difference between Zebra and Reverse Zebra), in addition to needing the trembucker version (especially of one of the less popular/common Seymour Duncan models, from what I can tell of how few UK websites listed it!), I had to wait 4-6 weeks for the pickup to be ordered through from the US!
Needing the trembucker did solve another problem though, somewhat fortuitously - but that's a slightly long story so I'll go into it in another post...
Saturday, 5 January 2013
Westone Nut Done
Happy New Year, blog-readers (bloggees? blog-ites?). I've made a little progress with the Westone since my last post, mainly with the installation of the nut. It needed quite a bit of sanding in order to fit, partly since it was inevitably too high, but also because the slot between the end of the fretboard and the truss rod cover is somewhat narrower than the base of the nut was pre-sanding. This meant I needed to sand a little off the back of the nut in order that it would fit snugly into the slot, as you can see from this photo.
Once I had it sanded down a bit I put a couple of strings on in order to check the height, and sand it down little by little until I had it at the correct height. According to the excellent book "Make Your Own Electric Guitar" by Melvyn Hiscock (a mine of useful information) the correct height is when the string just clears the first fret when fretted at the third. I think I've got this right, if not I might be in trouble later!
Then I removed the strings, and glued the nut in place with a couple of small dabs of glue - taking care not to get any into the truss rod channel or on the truss rod cover itself. I'm not going to worry about doing any more of the setup yet, that can wait until after the electrics are done.
I've also cleaned up the bridge and machine heads, since they were covered in what looked like a good few years worth of grime.
Lastly for today, if I were to make a New Year's resolution this year, it'd be to find more time to work on these projects - and to update this blog! So hopefully you'll hear from me a little more regularly this year...beginning with a couple of posts in the next few days about the other progress I've made in the last couple of months.
Sunday, 11 November 2012
Westone Parts, Part 1
The first two packages of parts for the Westone arrived on Wednesday and Thursday - the main item being the neck pickup, a Seymour Duncan '59. I've gone for the "reverse zebra" version, in which the black and cream bobbins are switched from the "standard" zebra configuration, so the black bobbins are on the outside of the pickups as they sit in the guitar. Click here for a pictorial example from the Seymour Duncan website (although I don't know why they have it upside down).
The drawback of the reverse zebra is that they seem to be rarer, and I've got to wait about 4 weeks for the bridge pickup I've ordered to come into stock from the US!
Also delivered this week were a few of the bits and bobs that are needed - the tone pot, pickup switch, nut, knobs, capacitors and some extra wire.
So that leaves just the bridge pickup and the pickup mounting rings, and I'll have everything I need.
Tuesday, 6 November 2012
Project #3 - Westone Thunder I-A
Well, so project #1 is still progressing, albeit slowly, and project #2 is still in its box, but project #3 is now about to take off! Maybe I should take one thing at a time, but this one requires rather less work than the first two and it should be fun.
I've been keeping an eye on Ebay for a while in case any interesting potential projects come up, and in amongst a lot of rubbish and over-priced stuff there's the occasional gem to be had - probably true of buying just about anything on Ebay! I've missed out on a couple of things, a perspex Aria Legend body in particular which would've been fun to put together, but a couple of weeks ago I managed to secure both the body and neck of a Westone Thunder I-A.
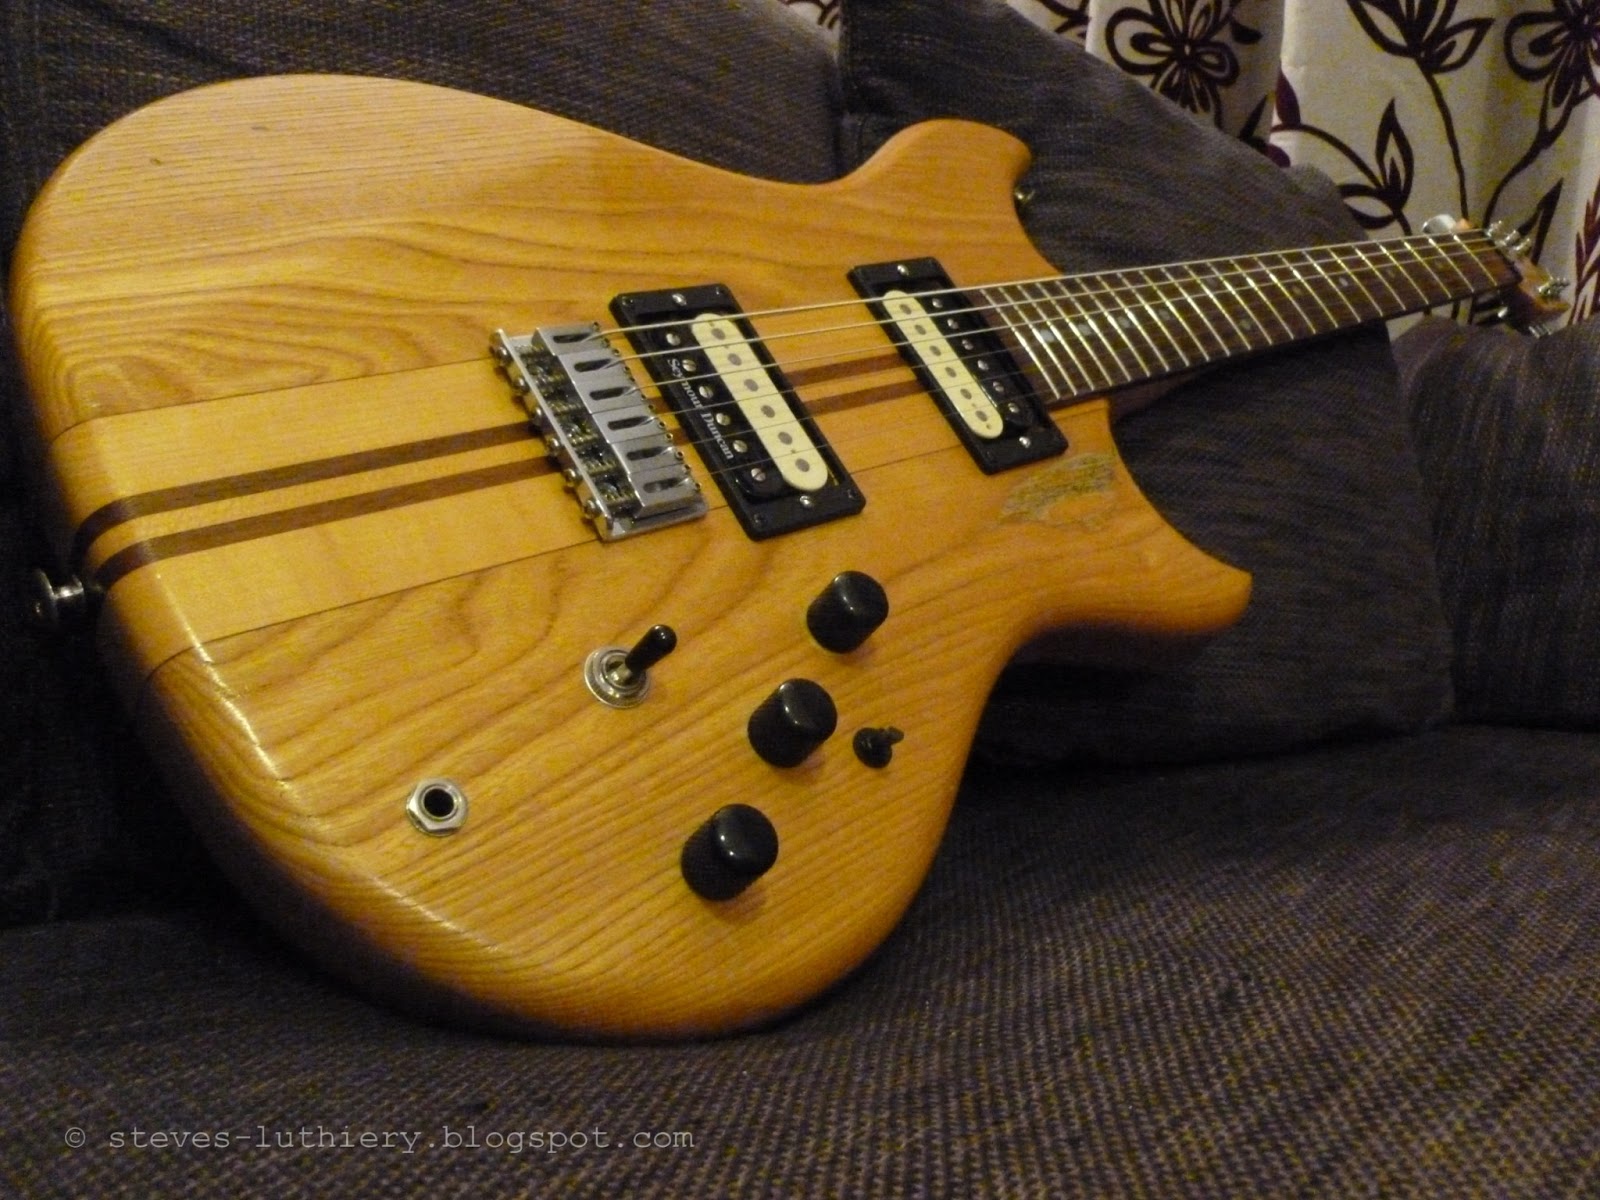
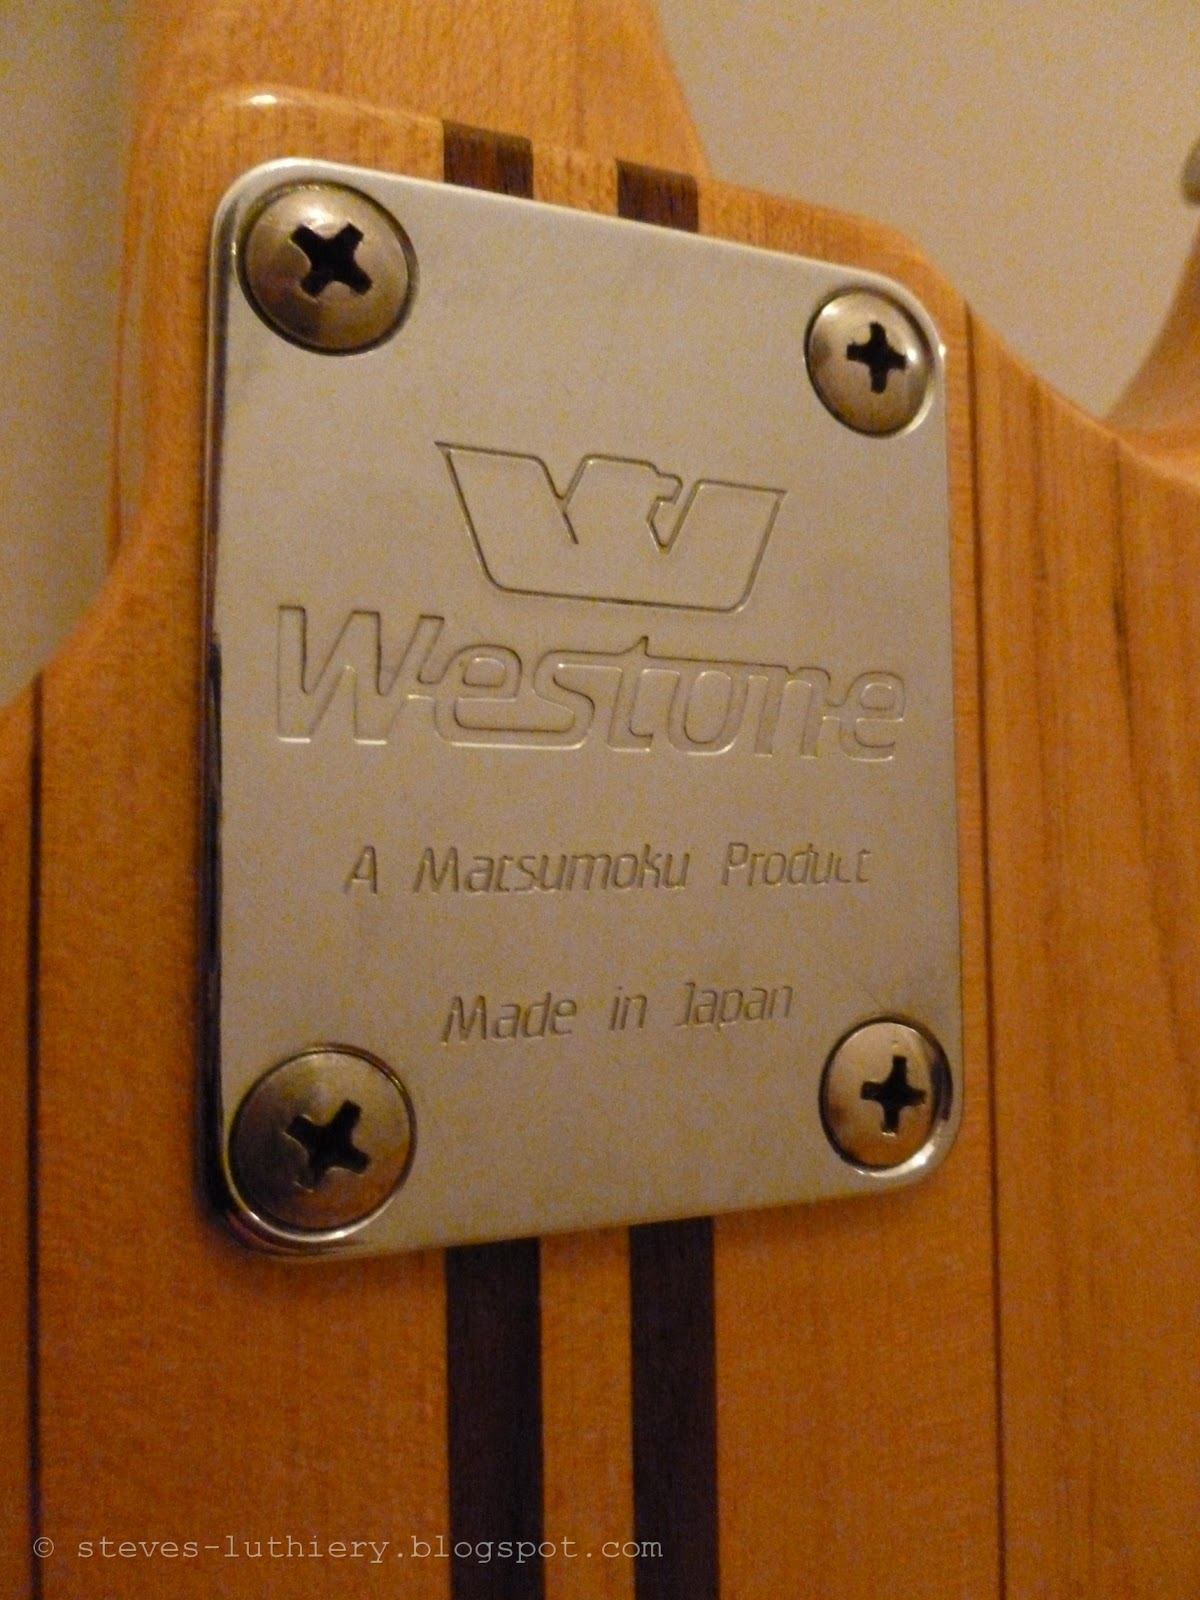
It was made in 1986 by the well-regarded Matsumoku factory in Japan, and in simple terms is a double-cutaway, fixed-bridge, twin-humbucker guitar. The thing that sets it apart though, is the active pre-amp circuit that's built in - hence the "A" in "I-A". I also happen to think it's a really nice looking guitar, with laminated Ash/Maple/Walnut body that's put together to resemble a neck-through-body construction. There was a neck-through version of it in the Westone range apparently, but this one is actually a bolt-on neck.
The neck has its original tuners but is missing a nut, otherwise it looks in good condition bar the odd minor ding and scratch. The body could definitely be described as "well-used" and has a fair few little dents and marks, plus quite a bit of pick-wear on the front, but it's just cosmetic. I suppose I could sand down the body and re-lacquer it but the cosmetic wear isn't something that particularly bothers me, not at this stage anyway. Maybe that's something I can do at a later date, but for now I just want to get it working. The body has the original (I presume) bridge - a fixed, string-through-body design - and most of the electrics (including the all-important active circuit) but is missing a push/pull tone pot, pickup selector switch and the pickups.
There's some great information on the internet about it, particularly at westone.info which is an absolute treasure-trove of information, including an all-important wiring diagram. The model I have is the Version 5 on this page.
I figured that I could just get some cheap pickups and get it working, but I'd rather make the best of it that I can - so I've decided to get a set of Seymour Duncans, and hopefully it'll sound really good. Most of the parts are now on order, so I'll post a bit more about them as and when they arrive.
Monday, 5 November 2012
Cavities Covered
After a little more sanding and scraping, I've finally glued the cavity covers in place - with a generous helping of wood glue and several dictionaries used to ensure uniform pressure all the way round each glued joint!
The end result has turned out pretty well, in most places the join is almost flush with the body surrounding it. Some areas are slightly proud of the surface of the body and will need sanding down a little, and in one or two places they're slightly below the surface - neither of which really matters too much. There are small gaps between the edges of the covers and the body, since inevitably the covers weren't a perfect fit, but nothing a little wood filler won't sort out.
All this was done a couple of weeks ago, but I've been distracted from this project (and from blogging about it) by a new project...more on that soon!
Subscribe to:
Posts (Atom)